
After many complaints from the family about the heat in the living room and other rooms in the upstairs part of the house during the summer months, I decided to finally look into a solution since I could possibly now afford to put something in place.
The reason I never bothered sooner, aside from lack of funds to do something significant, was the fact that the house is very limited for installing a window AC unit, with only 1 window in a location that would provide cooling for more than 1 room, and that room would be constrictive since it’s the kitchen. As far as I knew, this, or a central air addition to my oil furnace, were my only solutions. The central air option seemed very cost-prohibitive, but somewhere along the lines while doing some research, I stumbled upon the concept of “mini split” air conditioners, with most also including a heat pump. Not sure how I managed to not know that these things existed, but I’m sure it has something to do with them only becoming within the price reach of homeowners like myself in recent years.
So, after regrettably little research, I jumped on an 18,000BTU unit from Lowe’s with the brand name of “Celiera”. It seemed like a reasonable deal, but unfortunately it took almost 2 weeks for them to ship it to me despite the shipping time on their site showing only a few days.
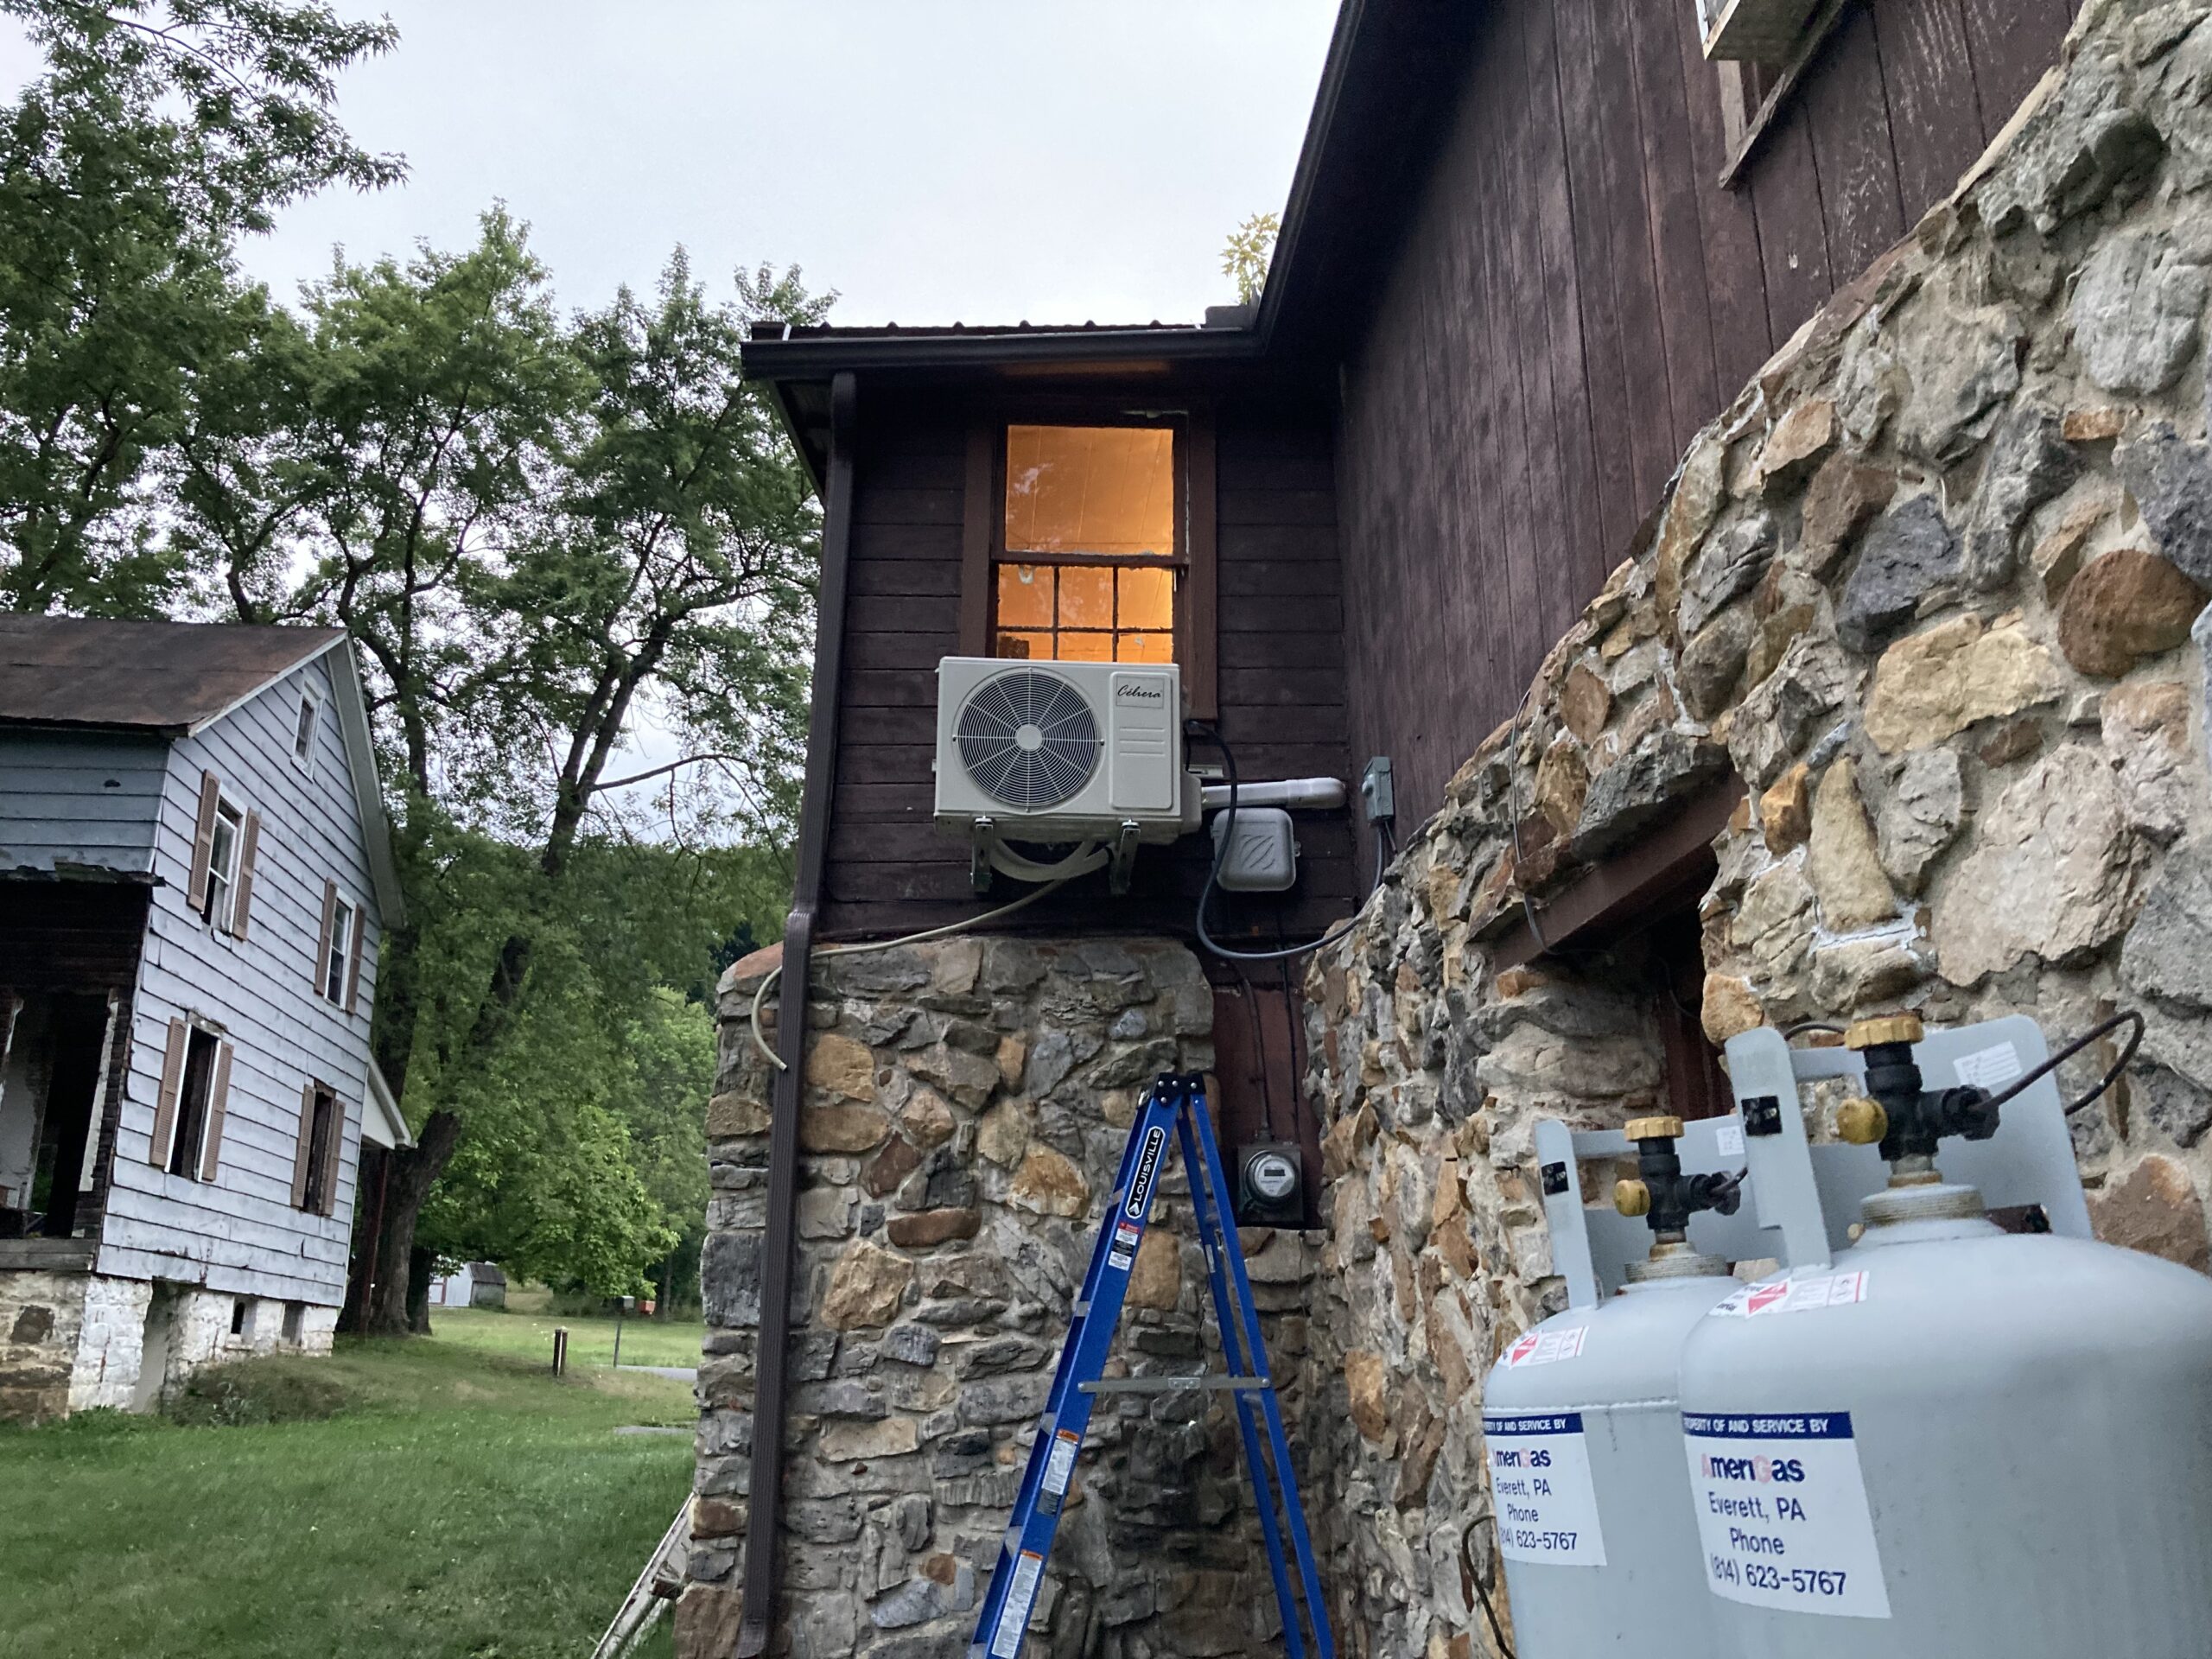
With a few irritating issues along the way, I was able to get the thing mostly installed by myself, with a little help with running the lineset from my brother and his son in law, and some help from my oldest son with getting the unit set and mounted to the wall bracket.

It took me about 4 days to do the install. It’s the kind of thing that could be done by 1 or 2 people in a single day, but I was working mostly alone, and only had about 2 hours of daylight to work with during the first 2 weeknight evenings of working on it after my job hours. I also took my time with it, since a lot of this was uncharted territory for me, and stakes seemed a little high due to the how much everything cost. I did not want to screw this up.
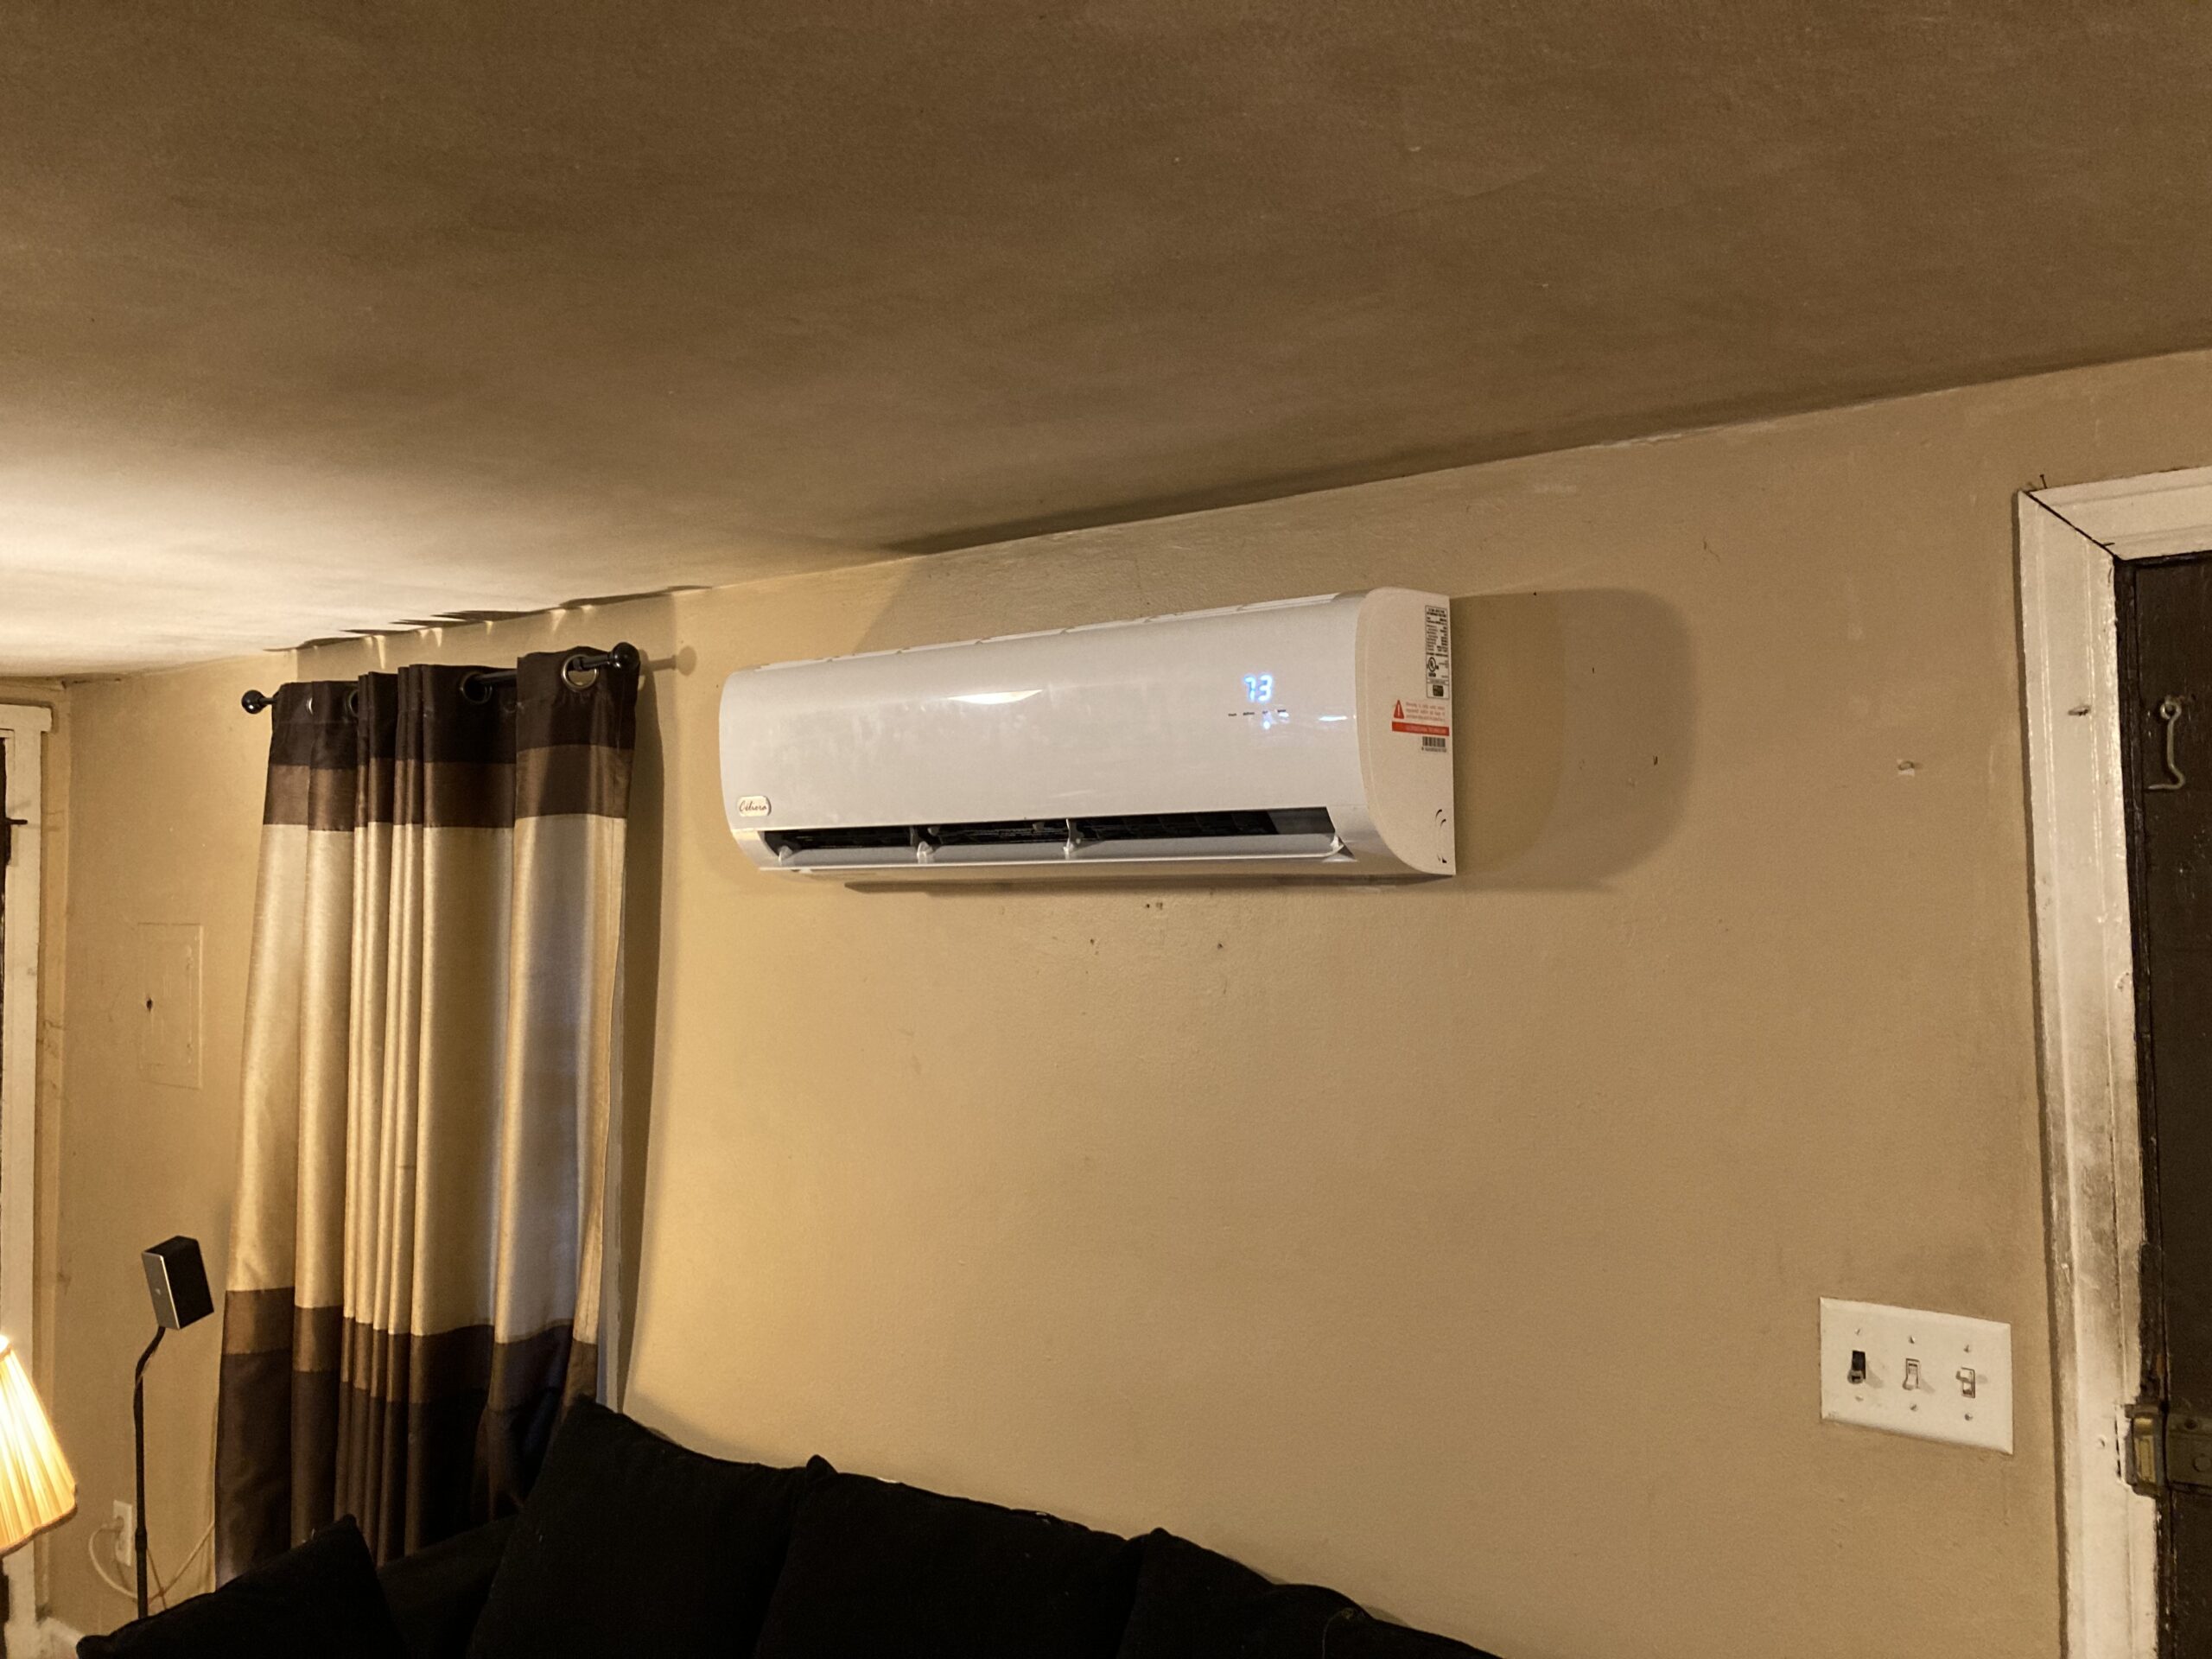
Overall, I’m happy with the installation, but there are a few concerns. I accidentally vented about 10 seconds worth of refrigerant out while going through the purging process. I’m told that with the run of line I have, it shouldn’t be a problem. It seems to work well so far, but we haven’t had a really hot day to put it to the test with yet.
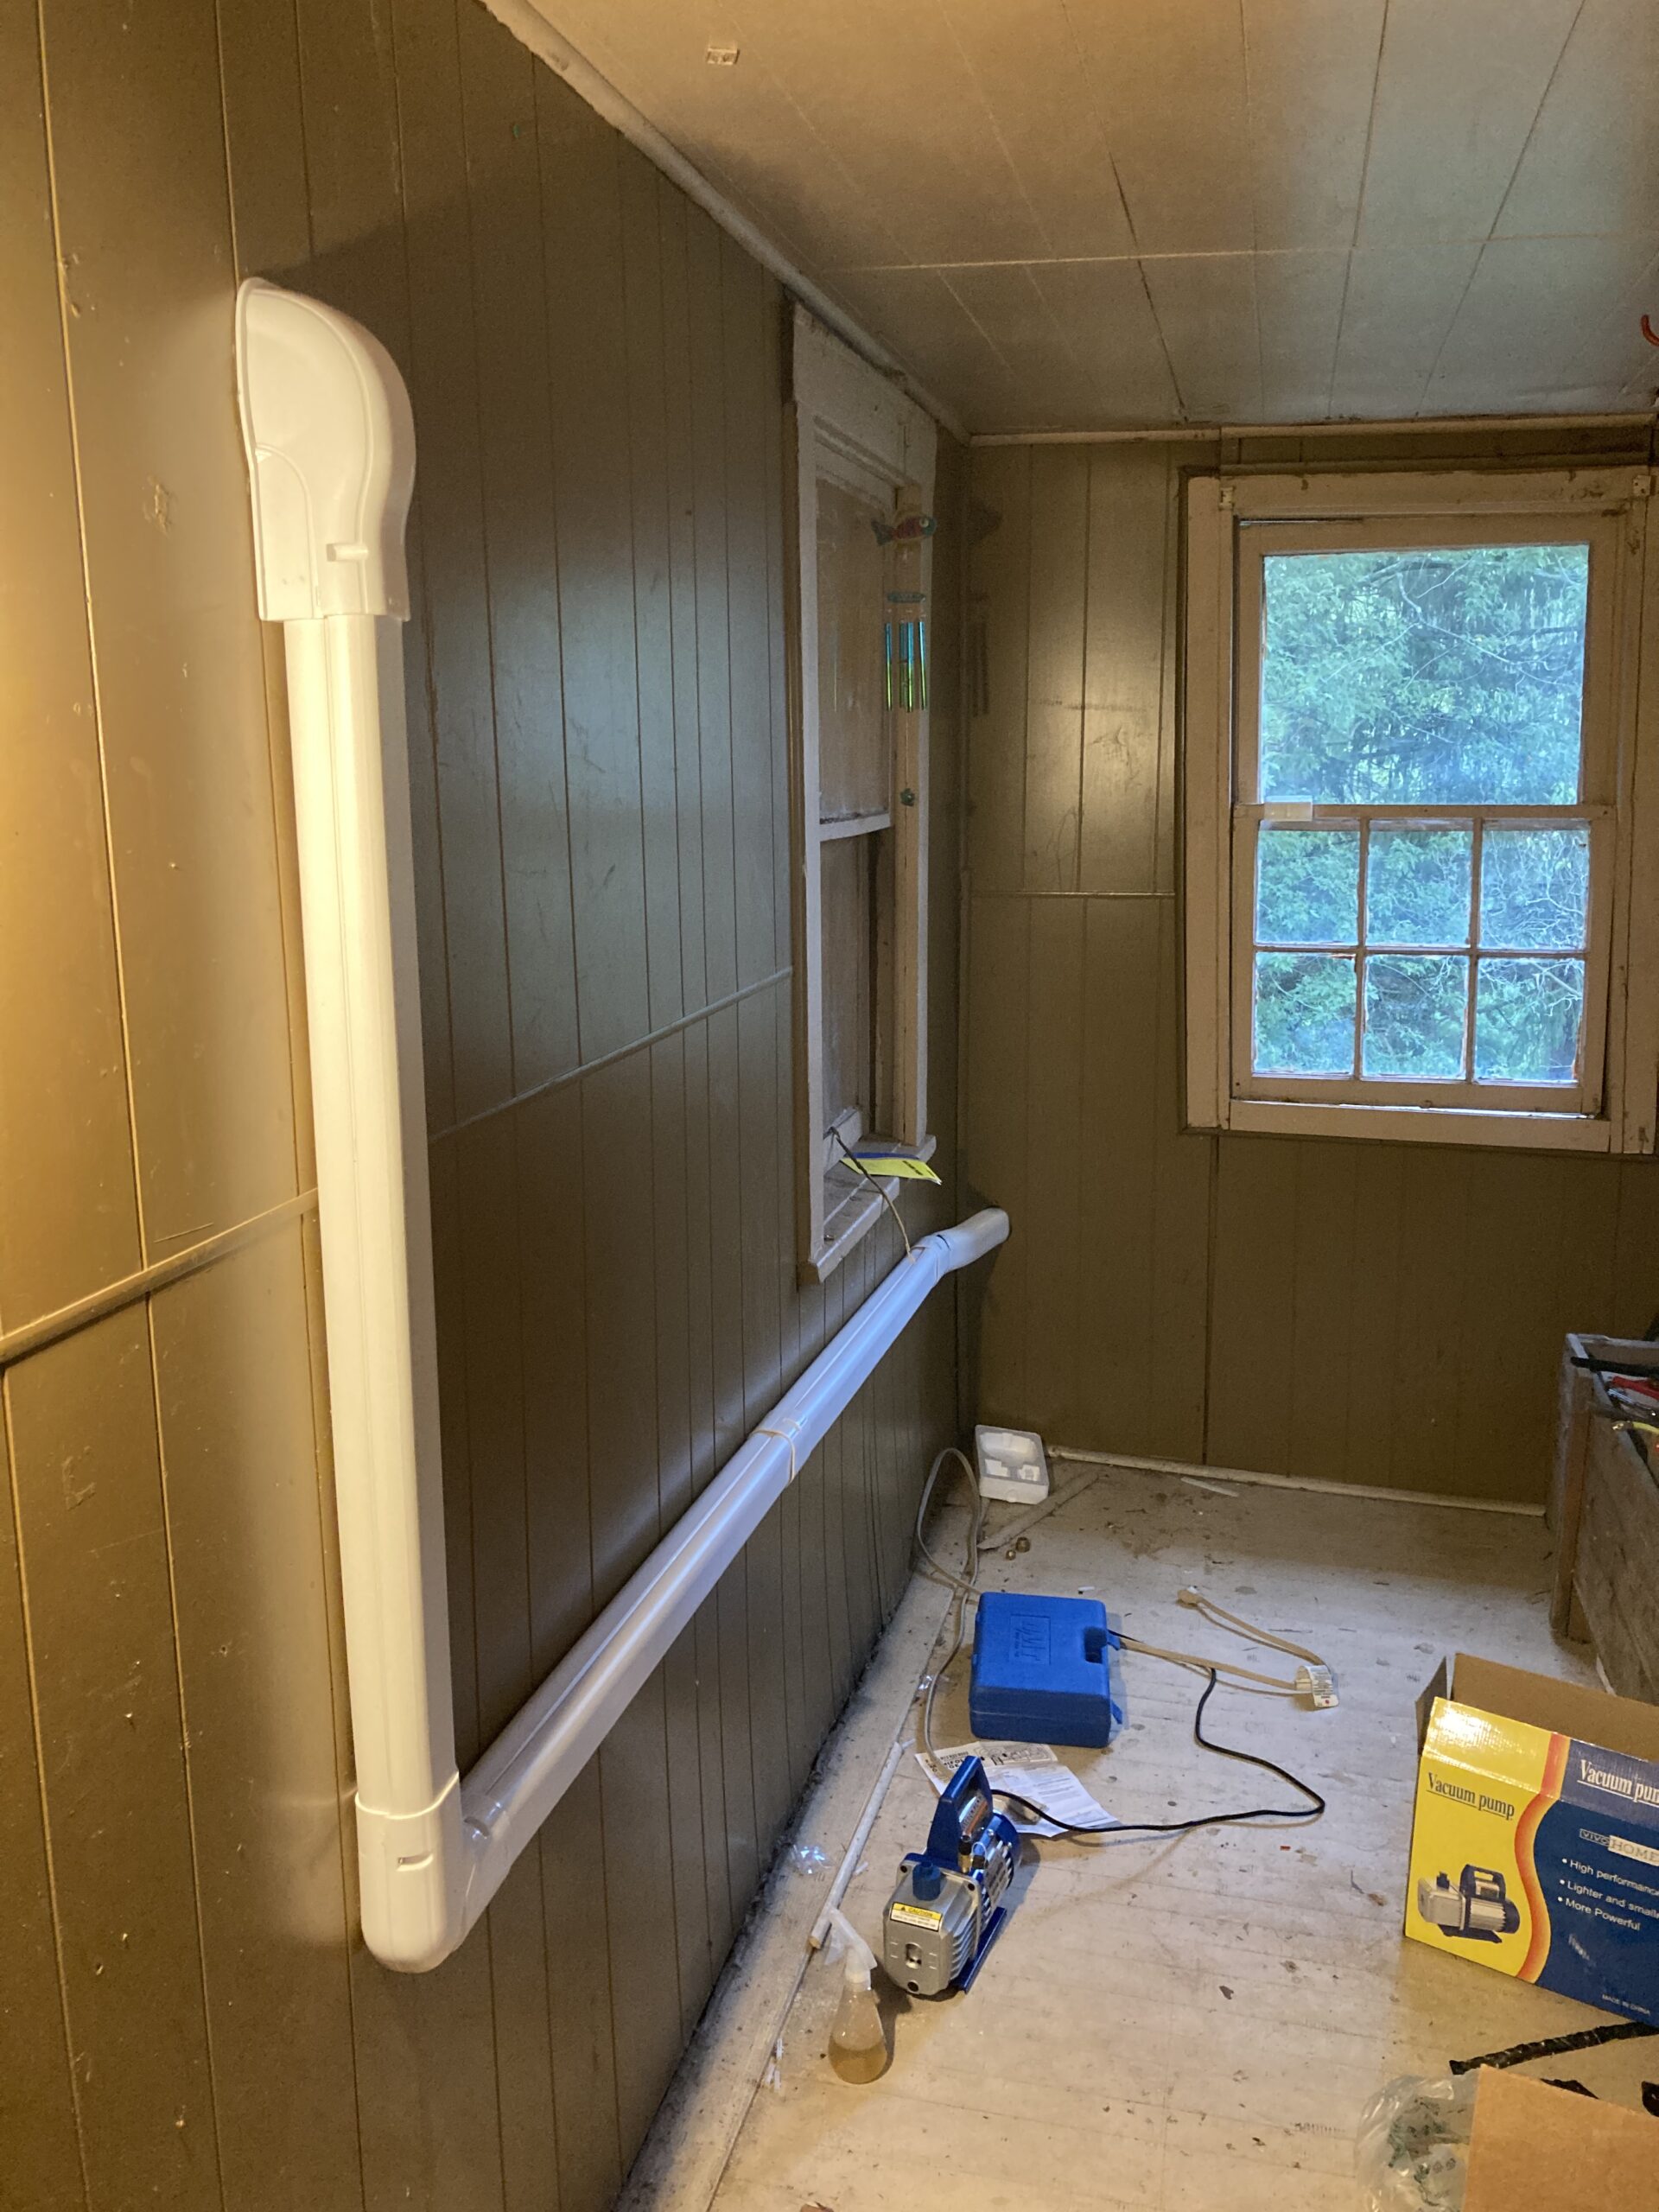
I’m also concerned that we may have kinked the copper lineset on one of the bends, mainly the one pictured above. I’m seeing condensation build up on the outside of the conduit around the elbow while the unit is running. This could either be from a kinked line at the elbow, or from not having enough wrapping around the lines inside the conduit. I’m a little iffy on taking it apart and wrapping the lines more, since I’m afraid that the movement of the lines will work the copper line off of the condenser outside. But it has to be done at some point, at least to check it out. If it is kinked, hopefully it’s not a fatal one.
I’m also a bit disappointed in myself for not doing a little more research. If I had to do it over again, I would not have went with the “Celiera” brand. It is an obscure Chinese clone brand, sharing hardware with mini splits from Amvent and Ramsond and likely others. For as cheap as they are and as long as they have apparently been around, you can find next to no information on them online anywhere other than the ads from the retailers that sell them. The unit was also advertised to be “Wifi compatible” and claimed to work with Alexa and Google and other smart home systems. First off, I could find no mention of the wifi feature anywhere on the box or documentation for the unit, nor on the unit itself or remote control. Countless searches online revealed that most mini splits with wifi control usually have a module that either comes with the unit, or has to be purchased and installed separately. I could see signs of places where such an add-on may need to be placed, but it did not match up with any of the other wifi kits for mini splits I found online, and I could not locate a single website specifically mentioning such a kit for the Celiera/Amvent/Ramsond units.
I finally fell back to the only source of support I could see offered with the unit, and that was the customer support number on the single piece of documentation that came with the unit. I called them and surprisingly got an English menu system, so I opted for tech support, and got sales. The sales guy was some semi-rude American guy who sounded like he worked in a small office by himself. He claimed the techs were all busy, and asked how he could help me. I asked some questions about the unit, and he informed me that there is no wifi-module for these units, and that you need to use one of the RF-blasting devices such as the Celio Breez or Echobee, etc. Talk about questionable advertising.
I was aware of these options, I just assumed that they weren’t needed since this thing was supposed to have its own wifi. Now I just need to find a smart themostat that provides the capability to control the mini split via RF, and also control my heating system via the hardwire.
Regrets, and things I learned from this project and would do differently? I’m realizing that I’m a bit more experienced than the typical DIY guy, and thus the next time I tackle a project like this, I won’t be so hesitant to do what needs to be done instead of cutting some corners. I’ll cut down the copper lines to length and re-flare them, instead of leaving the pre-cut lengths alone and coiling up the excess lines behind the condenser. I’ll use rubber spacers on every mount point of the bracket to eliminate vibration. I’ll bend all of the copper lines myself and not allow someone else to touch them so that I don’t have any questionable, potentially kinked bends. I’ll double check ALL of the line connection and junctions. I’ll take the time to properly wrap the line set. I’ll take the time for better research and avoid questionable, unknown brands. Most of all, I’ll try harder to control my temper in the face of adversity while working on something like this.
Next up: Strut replacement on the old 1998 Dodge Grand Caravan, and strut cap replacement part II.